Ten Minute DIY Wooden Tassel Bracelet
The tassel trend seems to be here to stay and does non announced to be going away anytime presently. From habitation décor to fashion, this ambrosial and colorful accent piece adds a serious punch! I always observe myself drawn to jewelry pieces that accept tassels adorning them. The colors and the textures popular and really provide a statement. I decided to accept my tassel jewelry inspirations and turn them into actual article of clothing jewelry.
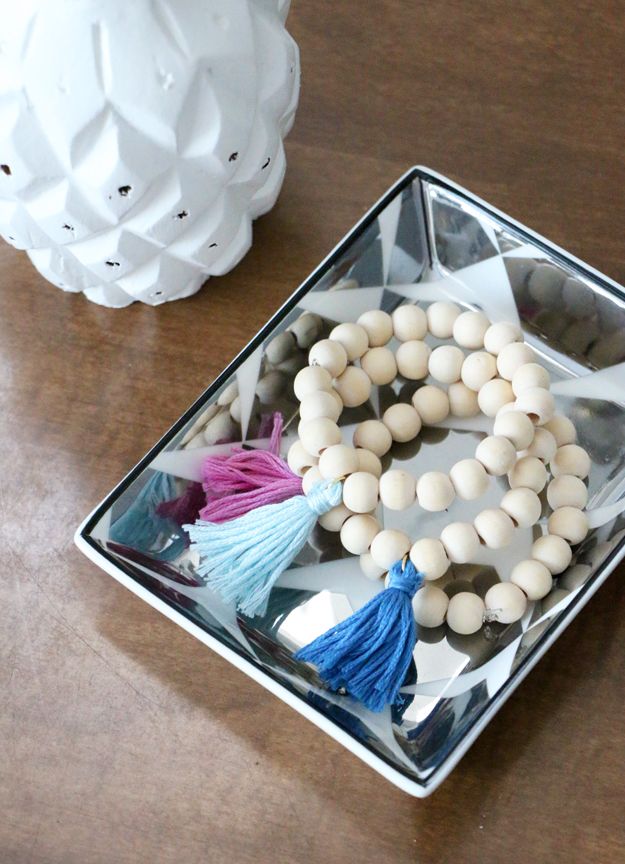
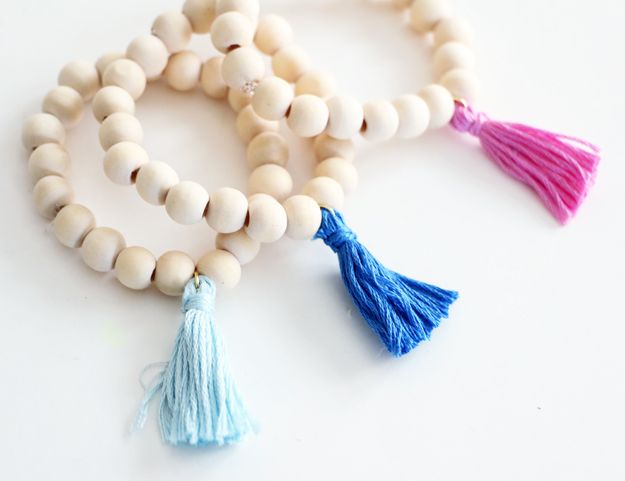
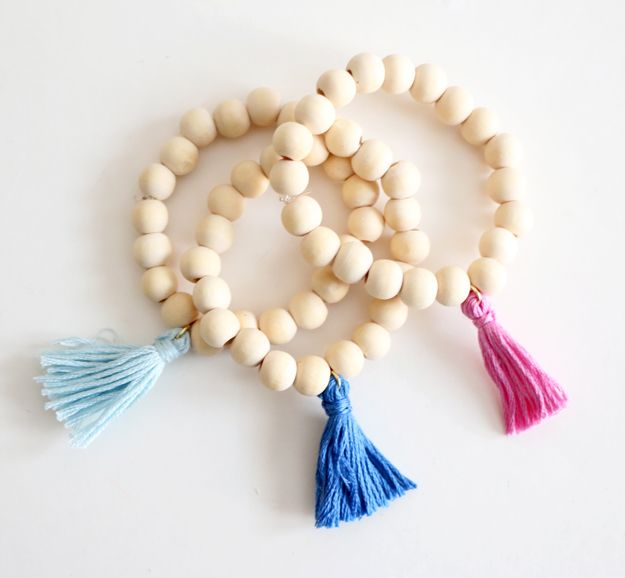
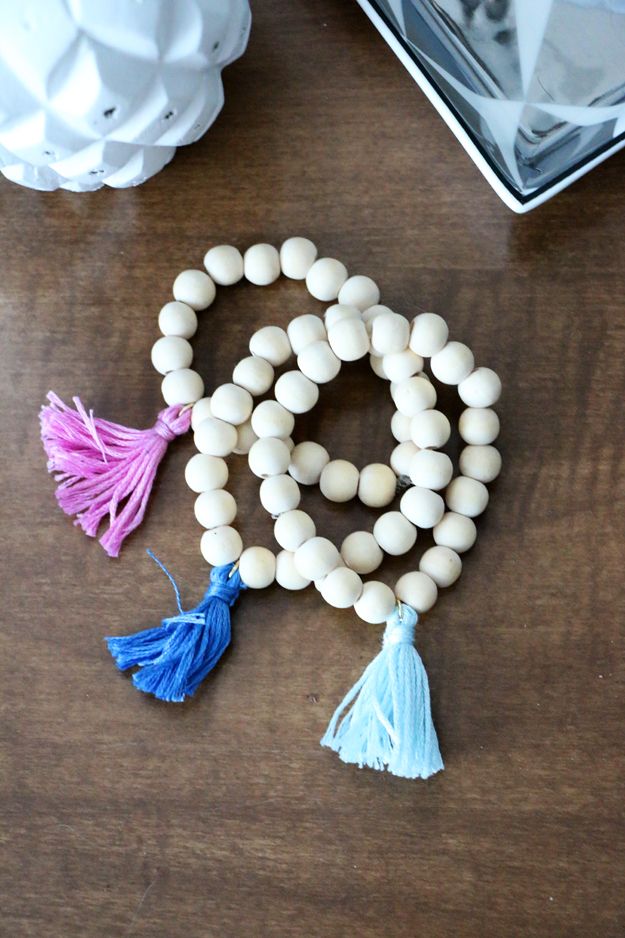
A stackable wooden bead tassel bracelet is super quick and piece of cake to make. If yous are new to jewelry-making, this is the perfect identify to commencement. The clean look of the raw wooden beads pairs actually well with the soft colorful tassel. Warning: These wooden tassel bracelets are so easy to make, y'all may detect yourself making "just one more" to add together to your jewelry collection!
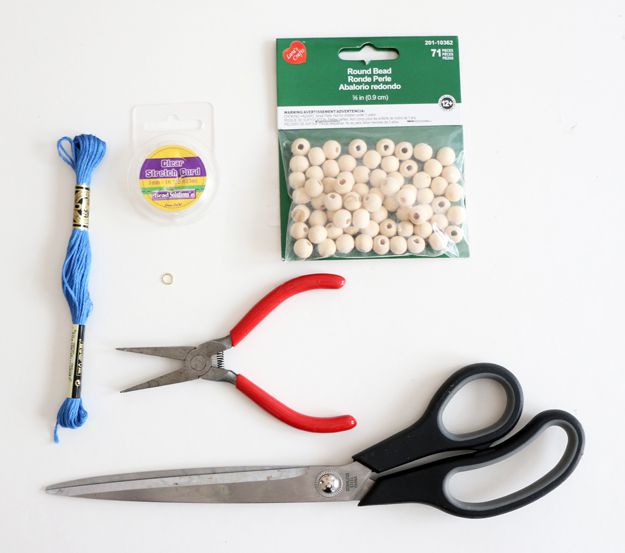
Here's what you'll need:
- Clear Stretch Jewelry String
- i/4 Inch Wooden Beads
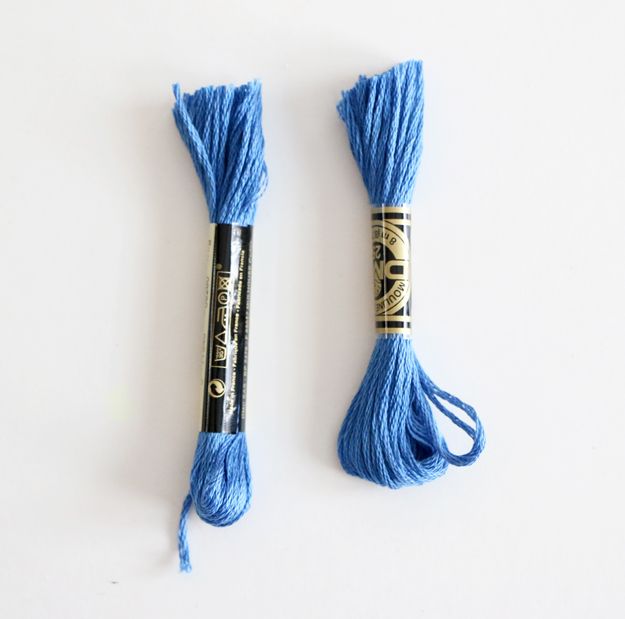
- Embroidery Floss
- Jump Ring
- Jewelry Pliers
- Pair of scissors
- E6000 Gum (Optional)
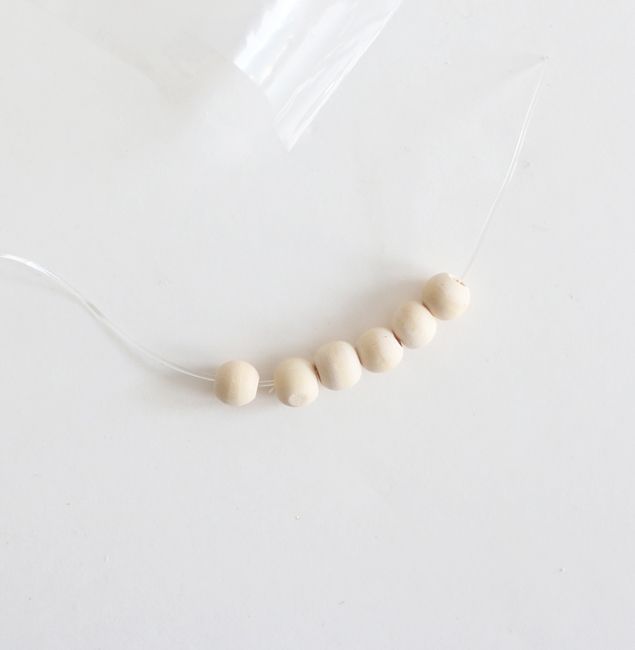
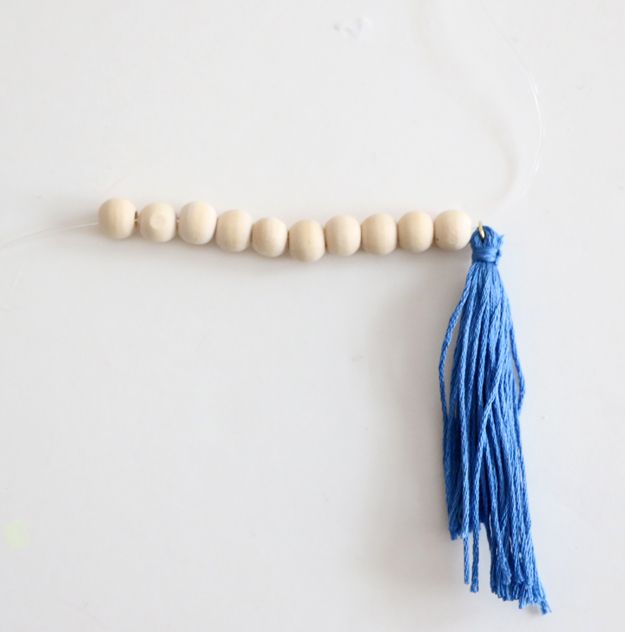
Step i: Wrap your stretch cord around your wrist. Add together an additional 6 inches of cord to the end. The additional string will allow you to tie the end around your wrist to finish off your bracelet. In one case yous get the proper length of cord, begin stringing your beads. Continue stringing your beads until you take enough to cover your wrist.
Footstep 2: Grab your embroidery floss and cut it in one-half in the centre.
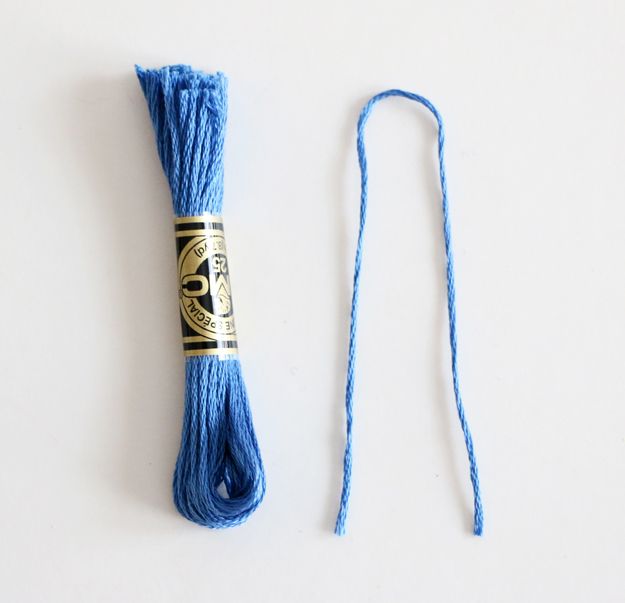
Stride 3: Keep one one-half of the floss and pull out one string. Set your string aside. You will use it later.
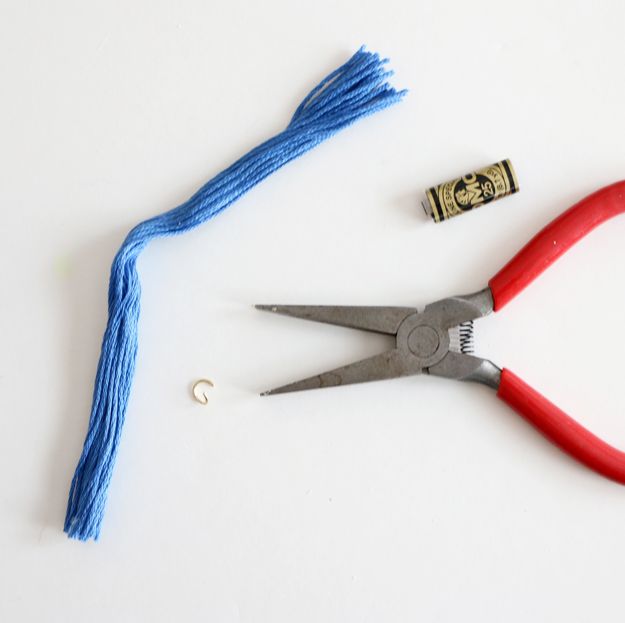
Step iv: Remove the paper covering and unfold your floss. Grab your bound ring and open it using your pliers.
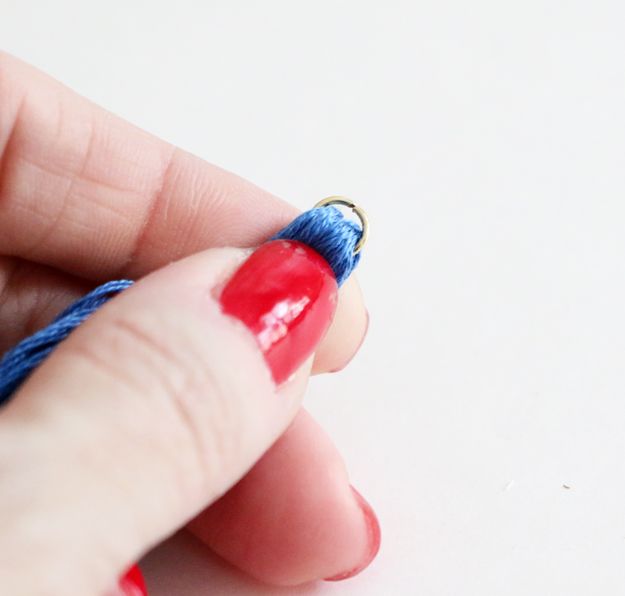
Step 5: Slide all of your floss through your jump ring until you get to the center of your floss. In one case in the centre, use your pliers to close your leap ring.
Stride 6: Take hold of the string you lot ready bated before and wrap information technology around the peak of your tassel. Yous will wrap information technology iii or 4 times. You desire to leave enough cord so you can tie a knot.

Pace seven: Subsequently you tie a knot around the top of your tassel, trim the excess strings.

Step viii: Slide your cord through the top of your tassel. And so, take the ends of your bracelet and necktie a double knot to secure it. Trim your excess cord. If you desire, yous can dab a little bit of E6000 glue to the knot to really secure it.

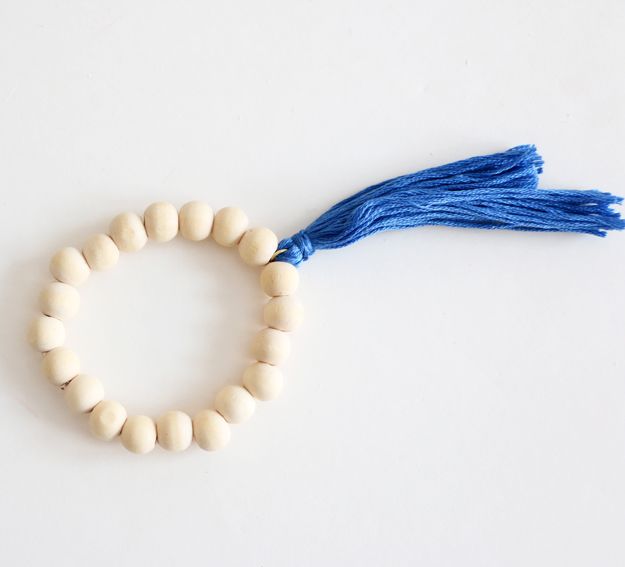
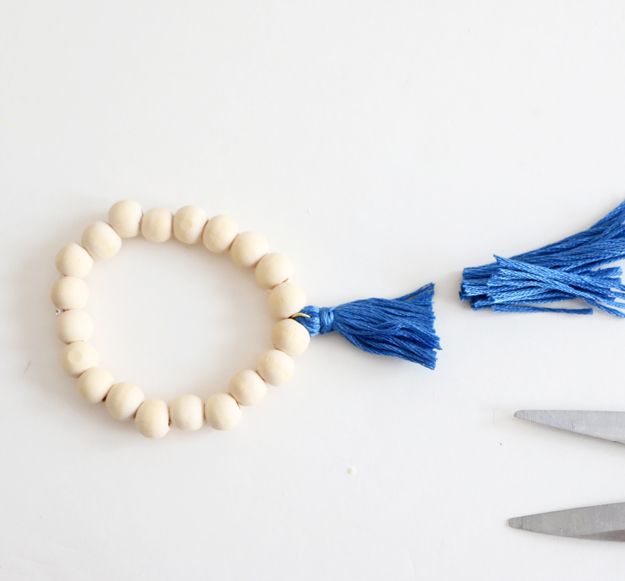
Stride 8: To end your bracelet, grab your scissors and trim downward your tassel. I cutting about 2 inches off. You lot tin can keep your tassel as long or as short every bit you would like.
At present all you have to do is make a few more than and then you tin can layer them to add together some serious pizzazz to any outfit!

Source: https://www.diys.com/wooden-tassel-bracelet/
Post a Comment for "Ten Minute DIY Wooden Tassel Bracelet"